

Why Dumawall is the smartest choice for your shower
01. Waterproof result.
Each panel easily connects to the next using the tongue-and-groove system, ensuring no gaps, no seams and no water infiltration. Finish the bottom edge and corners with silicone sealant for a watertight connection that lasts for years.
02. No grout, no mould.
The smooth surface offers bacteria and mould literally no grip. A quick wipe with a damp cloth is all you need. Avoid abrasives or bleach.
03. Renovate without demolition.
The panels go directly onto the existing tiled wall. No hammer, no dust, no rubble bags at the door. Just glue, finish and step into your shower the very same day.
04. Install yourself, ready in one day.
Thanks to the intuitive tongue-and-groove system, you don’t need a tiler or weeks of planning. Cut, glue, connect… and done. Do it at your own pace, in your free time.


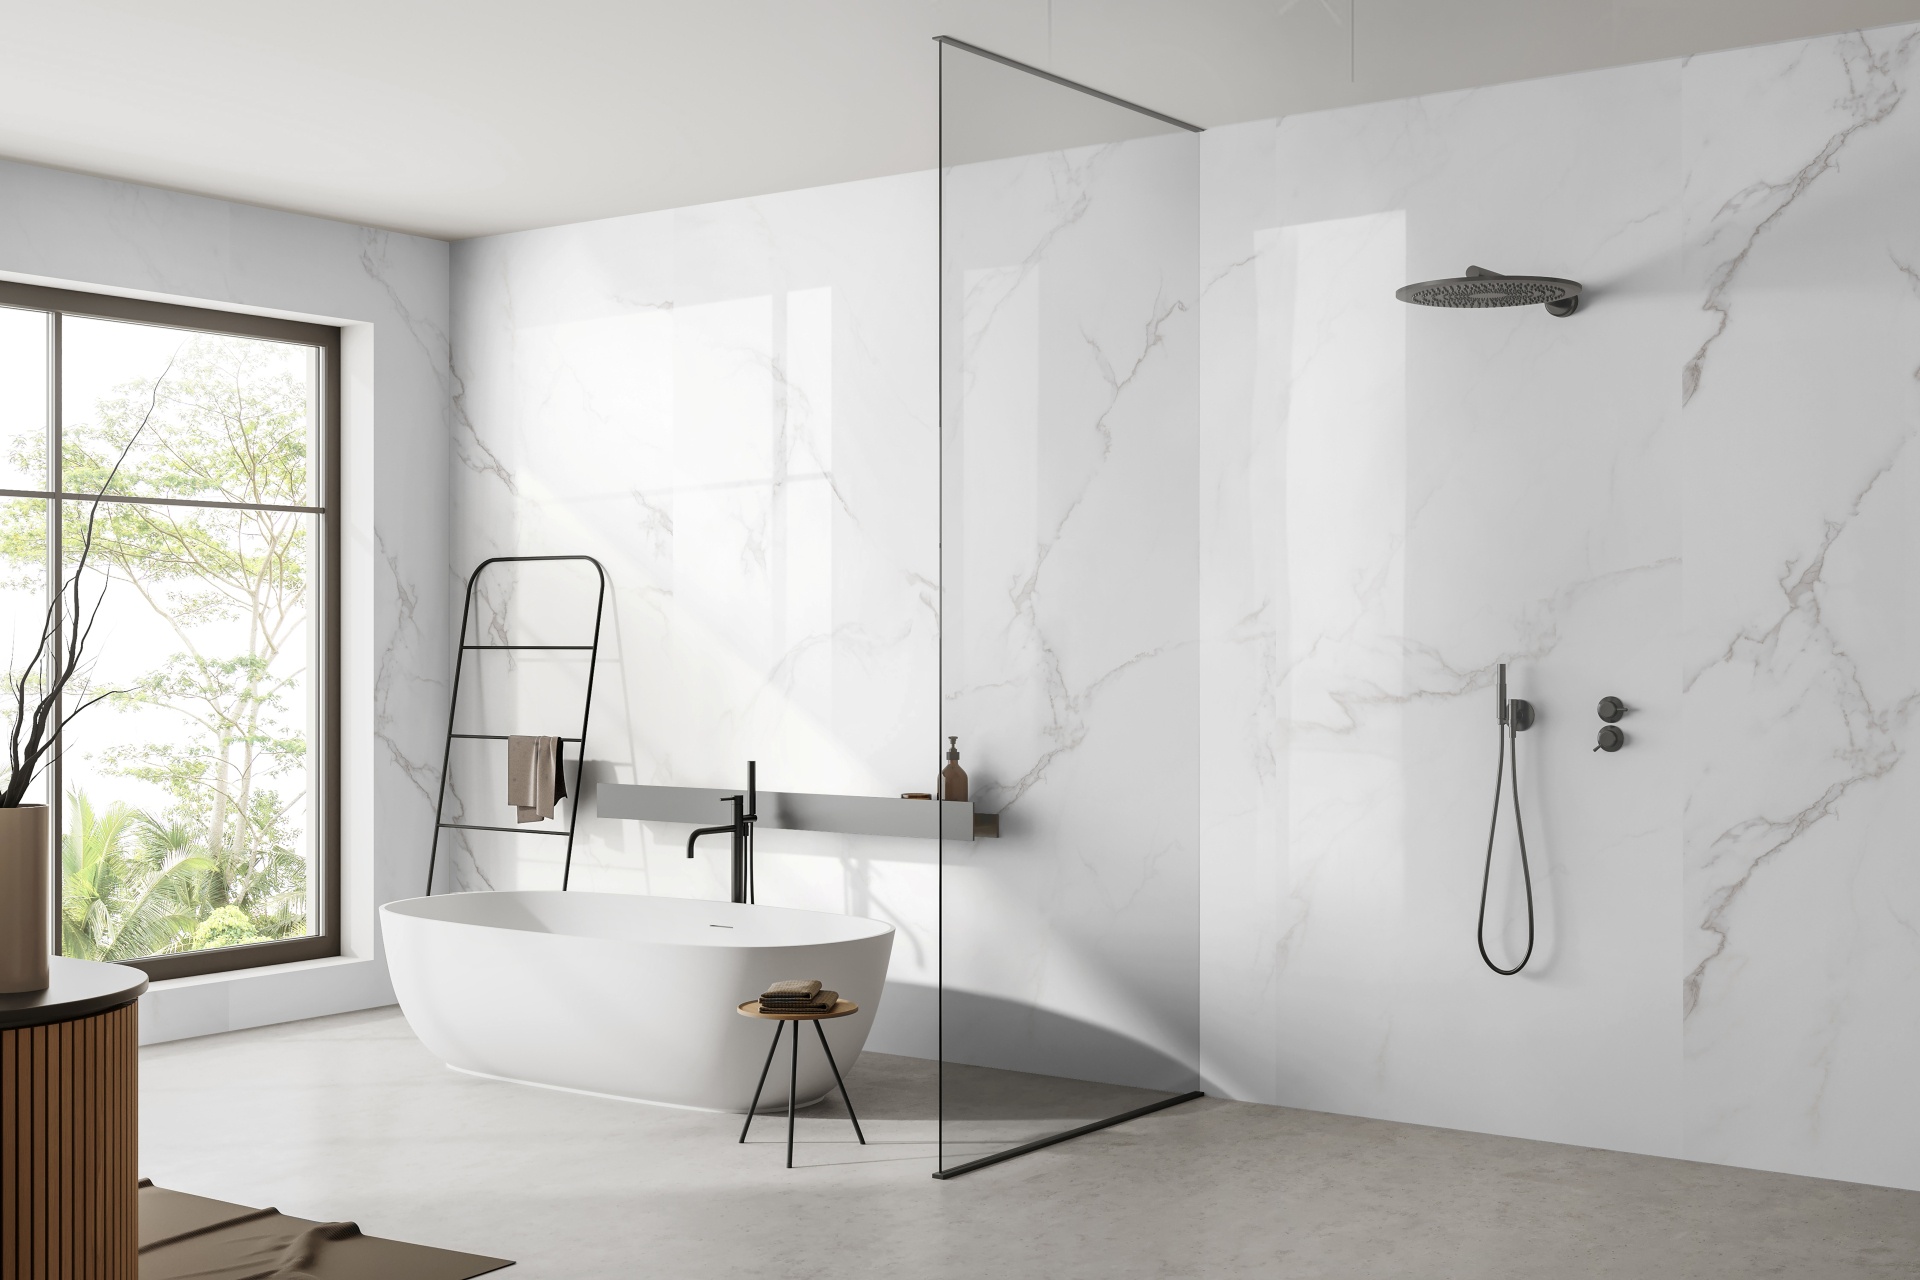
Which format fits best in your shower?
Wall panels - Dumawall XL en XXL
For showers, the larger panels are the most popular choice. They create a wide, seamless wall surface with as few connections as possible, improving waterproofing and delivering a sleek, modern result. Fewer joints also mean less risk of moisture problems in the long term.
Wall tiles - Dumawall+
Prefer the familiar look of tiles? With Dumawall+, you make the best choice — but grout-free, waterproof and installed in a fraction of the time of ceramic tiles. A classic or timeless appearance, without the classic drawbacks.
How to renovate your shower with Dumawall

Step 1: Preparation
A good substrate is everything. Make sure the existing tiled wall is clean, dry and flat. Remove dust, grease and any loose material. Then let the panels acclimatise for at least 48 hours in the room itself, at least 50 cm from the walls, at a temperature of around 20 °C. This prevents shrinking or expansion after installation.

Step 2: Measuring and cutting
Measure each wall precisely and always calculate at least 10% extra material and adhesive for cutting loss and unexpected deviations. Cutting panels to size is easy: score with a utility knife and snap, or saw with a fine saw.

Step 3: Installation
Start at the bottom of the wall and work from right to left. Apply the adhesive in vertical zigzag lines across the panel, press firmly and check immediately with a level. Connect each next panel using the tongue-and-groove system. Then finish the grooves and bottom edge with silicone sealant — this is mandatory in the shower for maximum waterproofing.

Step 4: Finishing
Never attach heavy accessories such as a shower head, towel hook or shelf directly onto the panels. Drill through the panel and use plugs in the underlying wall. Clean the surface with a soft, damp cloth. Avoid bleach, scouring pads and solvents, as they will only damage the surface.
All details and tips can be found in our full installation guide.
Ready to make your shower grout-free and low-maintenance?
Discover our full range of shower panels, order a sample to compare at home or find a dealer near you for personal advice.


