

Dumawall: the smart choice for the smallest room in the house
The toilet room is small, but the impact of a new wall is big. A fresh colour, a sleek finish or a luxurious marble look… with Dumawall you get quick results:
- Dumawall is 100% waterproof, making it perfect for humid spaces. Because you work with larger wall panels or wall tiles, you have fewer joints than with traditional tiles. That means less chance of limescale, dirt or mould — and therefore less maintenance.
- You also save a lot of time during a toilet renovation. You don't need to remove the old wall. As long as the substrate is clean, dry and flat, you can install Dumawall directly on the existing wall or tiled surface.
- The panels are easy to cut to size with a utility knife. Handy in a toilet room, where you often need to work around sanitary fixtures, pipes, corners or a built‑in cistern.
- Another advantage: Dumawall is made from 100% recyclable mineral stone and contains no harmful substances. A conscious, beautiful choice for your interior.


Which format should you choose for your toilet?
Wall tiles – Dumawall+
Do you like the classic look of tiles? Then Dumawall wall tiles are a smart choice. They give your toilet a familiar, clean appearance, but are faster and easier to install than traditional ceramic tiles.
Wall panels – Dumawall XL en XXL
Want a sleeker, more seamless look? Then Dumawall wall panels are a great option. Thanks to the larger format, you get fewer joints and a calmer wall appearance.
The wall looks larger, the finish feels more luxurious and maintenance is simple.
How to renovate your toilet with Dumawall
Step 1: Preparation
Ensure a clean, dry and flat substrate. Remove dust, grease and loose material. Then let the panels acclimatise for at least 48 hours in the room, at least 50 cm from the walls and at around 20 °C.

Step 2: Measuring and cutting
Measure all walls carefully and calculate 10% extra material. The toilet has more obstacles than other rooms: sanitary fixtures, pipes, a cistern. Take your time for precise measurements and cuts. A utility knife is sufficient for most adjustments.
Step 3: Installation
Start at the bottom and work from right to left. Apply the adhesive in vertical zigzag lines, press the panel firmly and check with a level. Connect each next panel using the tongue‑and‑groove system for a neat, waterproof connection.

Step 4: Finishing
Never attach accessories such as a toilet roll holder or towel hook directly onto the panels. Drill through the panel and use plugs in the underlying wall. Clean the surface with a soft, damp cloth. Without bleach, abrasives or solvents.
Want to know more? All tips and details can be found in our full installation guide.
Inspiration for your toilet
A toilet can absolutely have atmosphere. Because the room is small, you can experiment a bit more with colour, pattern or finish.
Light and spacious with solid colour
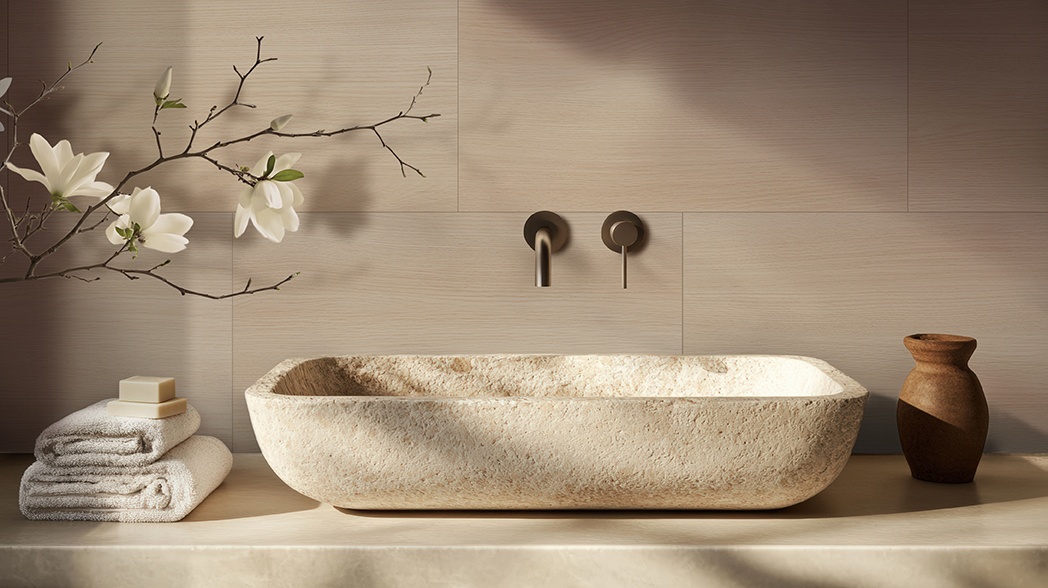
A light solid colour makes a small toilet feel larger and fresher. Think soft whites, beige or light grey. Calm, bright and easy to combine with wood, black or chrome.
Bold with concrete look
A concrete look in anthracite or grey creates a modern contrast. Beautiful with black accessories, a wooden shelf or indirect lighting. Sleek, but not cold.


Give your toilet a fresh look too
Want to upgrade your toilet without too much work or high costs? Order a sample and see at home which colour, texture and finish best suit your toilet space. Or visit a dealer near you and discover the possibilities in person.